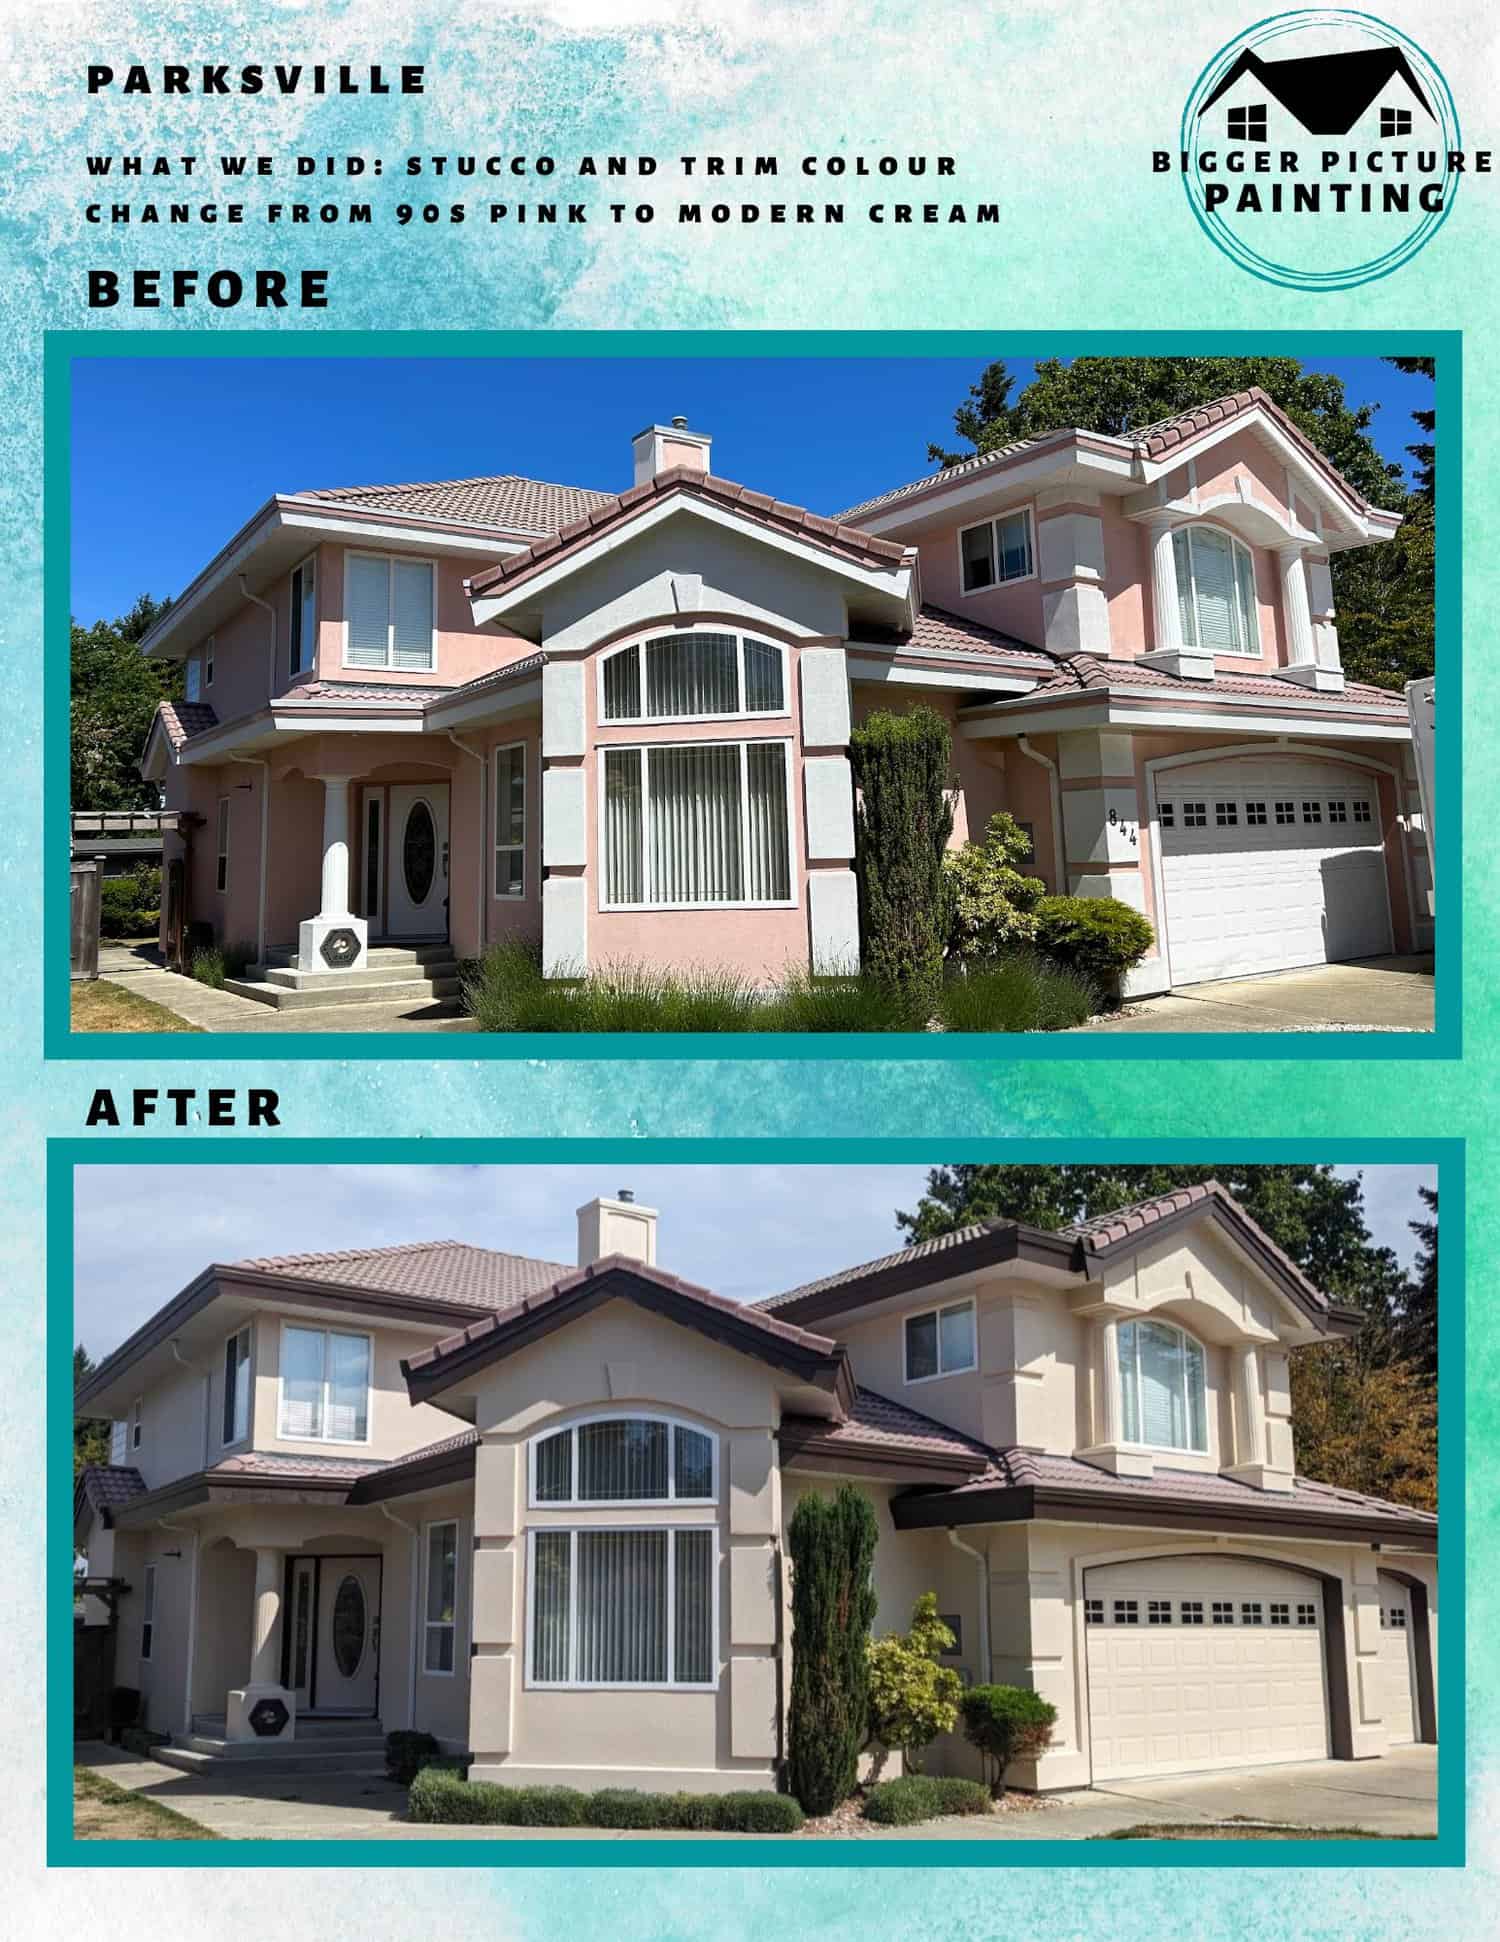
Stucco homes have a character all their own. The texture, shadow, and architectural depth lend a timeless charm that’s hard to replicate. But when the paint begins to fade, flake, or bubble, even the most elegant exterior can start to look tired—and vulnerable.
Painting stucco isn’t quite like painting wood or vinyl. It requires an understanding of the material’s unique characteristics and how it interacts with moisture, sunlight, and temperature changes. With proper prep and the right materials, a stucco paint project can last more than a decade. Done poorly, and you might see bubbling and peeling in just a few seasons.
This guide walks through what makes stucco different, how to prepare it correctly, which materials to choose, and how to apply paint that will truly last.
Why Stucco Requires Special Treatment
![]()
The Nature of Stucco
Stucco is a cement-based material applied in layers over masonry or wood lath. Its porous nature allows it to breathe—absorbing and releasing moisture depending on the weather. This breathability is a key benefit but also a point of vulnerability.
Because of its permeability, it expands and contracts with environmental changes. It can absorb rain or humidity, and improper sealing can trap that moisture under a non-breathable paint film. When this happens, paint may blister, bubble, or peel—often from the inside out.
Why Some Paints Fail on Stucco
| Paint Type | Breathability | Flexibility | Moisture Risk | Recommended For Stucco? |
|---|---|---|---|---|
| Acrylic Latex | High | Moderate | Low | ✅ Yes |
| Elastomeric Coating | Moderate | High | Low–Medium | ✅ Yes (for cracks) |
| Oil-Based Paint | Low | Low | High | ❌ No |
Breathable paints like acrylic latex allow moisture to escape, reducing the risk of bubbling. Oil-based paints, while durable on wood or metal, can trap moisture inside walls—leading to peeling and costly repairs.
How to Tell If Your Stucco Needs Painting
Stucco exteriors don’t usually peel like other materials—but they do offer clues when repainting is needed.
Visual & Surface Signs
| Symptom | What It Means |
|---|---|
| Faded color / chalky surface | UV damage or oxidized paint—repainting improves appearance & protection |
| Efflorescence (white powdery streaks) | Moisture inside wall drawing salts to the surface—must be addressed before painting |
| Hairline cracks | Usually cosmetic but signal aging or settling—need sealing before painting |
| Large cracks, bulges, or soft spots | Possible structural or water damage—must be repaired first |
| Algae/mildew staining | Surface contaminants—clean thoroughly before painting |
| Peeling or bubbling paint | Prior coating trapped moisture or poor prep—requires complete removal and correction |
Subtle indicators like powdery residue or fading on sun-exposed sides often go unnoticed until problems grow. Cracks or stains that seem harmless may be signs of deeper moisture issues if ignored for too long.
Tools and Materials You’ll Need
![]()
Painting stucco requires slightly different equipment and a more rugged approach than smoother surfaces.
Recommended Tools
-
¾” to 1¼” nap roller (for texture)
-
Angled sash brush (for edges and trim)
-
Airless sprayer (for speed + coverage)
-
Caulking gun
-
Scraper or wire brush
-
Drop cloths and painter’s tape
-
Soft-bristle scrub brush
-
Hose or pressure washer (low to medium PSI)
Essential Materials
| Material | Purpose |
|---|---|
| Acrylic latex or elastomeric paint | Breathable, flexible exterior coating |
| Masonry primer (if needed) | Seals patches, efflorescence, or bare areas |
| Exterior caulk (paintable) | Fills minor gaps and joints |
| Patch or repair compound | Fills deeper cracks and missing stucco |
| Mildew/mold cleaner | Treats bio-staining and contaminants |
Step-by-Step: Painting a Stucco Exterior
1. Inspect the Surface Thoroughly
Look for:
-
Hairline cracks
-
Larger structural fractures
-
Bulges, softness, or hollow-sounding areas
-
Signs of moisture intrusion near windows or base of walls
Repair before painting. Stucco patch should match the existing texture and be allowed to cure fully—typically 7 to 10 days.
2. Clean the Surface
Clean walls thoroughly to remove dust, mildew, and loose debris. Avoid trapping contaminants under fresh paint.
| Cleaning Method | When to Use | Notes |
|---|---|---|
| Pressure Washer (low PSI) | Most common, especially for large areas | Use wide-angle tip to avoid damage |
| Hose + Scrub Brush | Small homes or delicate stucco | Takes longer but safer for fragile surfaces |
| Mold/Mildew Cleaner | Areas with visible staining | Always rinse completely |
Drying time:
-
Dry climates: 24 hours
-
Humid/coastal areas: 48+ hours
-
Fresh patches: 7–10 days
3. Treat Efflorescence and Stains
Efflorescence must be scrubbed off with a stiff brush and neutralized. Then seal the area with a specialized masonry primer. Mold or rust streaks should be cleaned with the appropriate remover before painting.
4. Prime as Needed
Not all surfaces need a primer. Use primer only if:
-
You’re painting over patched or bare areas
-
There’s a change from oil- to water-based paint
-
There’s persistent efflorescence
Choose a breathable, alkali-resistant masonry primer.
5. Choose the Right Paint Type
| Paint Type | Best For | Advantages |
|---|---|---|
| Acrylic Latex | Newer, smoother stucco | High breathability, easy to apply |
| Elastomeric Coating | Older stucco with minor cracking | Superior flexibility, bridges hairline cracks |
Avoid dark colors on south- and west-facing walls unless the paint is specifically designed for solar exposure. Lighter colors reflect heat and resist UV damage better.
6. Apply Paint Properly
It requires generous, even application to fill its texture and avoid missed spots.
Application tips:
-
Apply two full coats for durability.
-
Use a sprayer for speed, then back-roll immediately to press paint into texture.
-
Work in shade or on cool mornings—avoid direct sunlight.
-
Paint from top to bottom to manage drips and lap marks.
Drying tip: Don’t stretch coats thin to save paint. Thicker, even coats last longer and resist peeling better.
Mistakes That Shorten Paint Life on Stucco

Common Pitfalls to Avoid
-
Painting over dirty, damp, or flaky areas
-
Ignoring existing cracks or patches
-
Using non-breathable or incorrect paint
-
Skipping primer when needed
-
Painting in full sun or during humid weather
-
Failing to back-roll or apply enough paint in textured areas
Even small shortcuts in prep or application can lead to early failure—especially on homes exposed to seasonal moisture or strong sunlight.
Caring for Your Painted Stucco
Once you’ve refreshed your stucco, maintenance helps it last.
Maintenance Checklist
-
Annual wash: Use a hose or soft wash to remove debris and mildew
-
Trim back landscaping: Keeps moisture and organic material away from walls
-
Inspect annually: Look for flaking, chalking, or new cracks
-
Repaint timeline: Expect 7–10 years of longevity; exposed walls may need touch-ups sooner
Final Thoughts
Stucco, when properly maintained, can last for generations. But it takes the right prep, the right paint, and the right method to keep it both beautiful and protected.
If your home’s exterior is showing signs of age—faded color, cracks, or bubbling paint—don’t wait. Repainting isn’t just cosmetic. It’s an investment in your home’s durability and value.
Let us help. We offer free, no-pressure estimates and years of experience painting homes with precision, care, and results that last.
Call today and bring your stucco back to life—smooth, strong, and stunning.