Painting cabinets seems simple at first. You grab a brush, open a can of paint, and expect your kitchen to look brand new by the weekend. But then — brush lines, sticky surfaces, and peeling paint show up.
The truth is, painting cabinets can be easier and produce a professional, factory-smooth finish when done with the right system. What makes professionals faster isn’t just experience; it’s the way they prepare, the tools they use, and how they control every stage — from cleaning to curing.
At Bigger Picture Painting, our cabinet painting process is designed to make the transformation smooth, efficient, and durable. Whether your goal is to refresh your kitchen, upgrade your bathroom vanity, or modernize built-ins, the secret lies in process, not speed.
This guide reveals ten proven ways to make painting cabinets easier — while achieving a finish that looks amazing and lasts for years.
Why Painting Cabinets Often Feels Harder Than It Should
Homeowners often start with enthusiasm and end up wondering why their results don’t match the pictures they saw online. That’s because painting cabinets isn’t like painting walls. It involves specialized coatings, prep steps, and curing controls that typical DIY setups can’t always deliver.
Here’s what usually goes wrong:
-
Poor adhesion: Paint peels because grease or gloss wasn’t removed properly.
-
Brush marks and roller lines: Low-quality tools or thick paint layers.
-
Uneven sheen: Skipping primer or using incompatible products.
-
Sticky finishes: Applying coats too fast in humid conditions.
Professional cabinet painters simplify these problems by using three pillars of control:
-
Surface adhesion: Through proper cleaning, sanding, and priming.
-
Application method: Using tools that produce a self-leveling finish.
-
Environmental control: Maintaining consistent humidity and temperature for even curing.
Pro painters in Bigger Picture Painting’s cabinet painting service use high-adhesion primers like Benjamin Moore STIX or Zinsser BIN Shellac and durable hybrid enamels such as Sherwin-Williams Emerald Urethane Trim Enamel. These products create the smooth, furniture-grade finish homeowners in Victoria, BC love.
Common Painting Cabinet Problems vs. Pro-Level Fixes
| Problem | DIY Struggle | Pro-Level Solution |
|---|---|---|
| Paint peeling | Skipped primer or greasy surface | Degrease, sand, apply bonding primer |
| Visible brush lines | Poor tools or too thick paint | Use microfiber roller or HVLP sprayer |
| Sticky or tacky surface | High humidity or thick coats | Improve airflow, thin coats, extend dry time |
| Uneven color | Poor stirring or coverage | Stir well, use tinted primer, maintain wet edges |
| Flat or dull finish | Poor curing or wrong sheen | Use urethane enamel, allow full cure |
10 Proven Ways to Make Painting Cabinets Easier—and Look Better
1. Start With a True Degreasing and De-Glossing Process
Grease is the silent enemy of painting cabinets. Even invisible residue can block paint adhesion. Professional painters use TSP substitute or Krud Kutter Gloss-Off, followed by a thorough rinse and dry time.
Once clean, sanding with 220-grit paper creates the microscopic texture that paint needs to grip. This single step can double the life of your finish.
2. Label, Remove, and Organize Before You Paint
Taking off all doors, drawers, and hardware saves hours later — and prevents uneven coverage around hinges or handles.
Label every door and drawer with painter’s tape and store hardware in bags. This professional habit ensures everything fits perfectly when reinstalled.
3. Use the Right Bonding Primer — It’s Non-Negotiable
Skipping primer is one of the most common causes of peeling paint. A good primer is the adhesive bridge between your surface and the topcoat.
Best options:
-
Zinsser BIN Shellac-Based Primer: Blocks stains, seals wood tannins, and adheres to glossy finishes.
-
INSL-X STIX Waterborne Primer: Excellent for laminate, thermofoil, and varnished wood.
Both dry fast and create a surface that grips paint like glue.
Pro Tip: Always let primer dry fully (2–4 hours) before sanding lightly and applying the first coat.
4. Choose a Self-Leveling Cabinet Paint
Not all paints are created equal. Wall paints are too soft for daily cabinet use. The pros use enamel-based coatings that cure hard and self-level to remove brush marks.
Top-performing cabinet paints:
-
Sherwin-Williams Emerald Urethane Trim Enamel
-
Benjamin Moore Advance Waterborne Alkyd
-
PPG Break-Through! Acrylic Enamel
These paints are engineered to resist fingerprints, moisture, and impact. Two thin coats are better than one thick one — ensuring smoother flow and faster curing.
5. Control Dust and Debris
Dust is a perfection killer in painting cabinets. Even the tiniest particles can leave bumps under your finish.
Before every coat, wipe with a tack cloth and vacuum the workspace. Use plastic sheeting or zip walls to isolate the area. Professional painters use portable spray booths or sealed environments with air filtration.
Pro Insight: Bigger Picture Painting’s pros use fine-finish dust extraction sanders to eliminate airborne debris before every coat.
6. Work in a Climate-Controlled Environment
Paint reacts to its environment. Too cold, and it won’t level properly. Too humid, and it won’t cure correctly.
Ideal conditions for painting cabinets:
-
Temperature: 65–75°F (18–24°C)
-
Humidity: Below 60%
Use fans or dehumidifiers to stabilize airflow and speed up drying. Professional setups maintain these levels consistently, especially during curing.
7. Use Microfiber Rollers or an HVLP Sprayer
The smoother the tool, the smoother the finish. For DIYers, fine-finish microfiber rollers minimize texture. For professionals, HVLP (High Volume Low Pressure) sprayers deliver that sleek, factory-grade appearance.
Top tool choices:
-
Wooster Pro/Dense Foam Rollers
-
Fuji HVLP Spray Systems
Always strain paint before loading to remove pigment clumps — a small detail that ensures a flawless finish.
8. Don’t Skip Sanding Between Coats
Each coat builds the foundation for the next. Light sanding between coats (320–400 grit) removes dust nibs and ensures even adhesion.
Wipe with a microfiber cloth or tack rag before recoating. It’s a small step that creates a glass-smooth texture and professional-quality look.
9. Add a Protective Topcoat (Optional but Worth It)
For kitchens and bathrooms, moisture and frequent handling can wear down even the toughest paint. A topcoat adds an extra layer of defense.
Recommended options:
-
General Finishes High Performance Polyurethane
-
Target Coatings EM9300 Polycarbonate Urethane
These waterborne finishes dry clear, resist yellowing, and boost durability.
Many homeowners in Victoria, BC request this optional topcoat as part of our cabinet painting package for added protection.
10. Give Cabinets Time to Cure — Not Just Dry
Here’s where most DIY paint jobs go wrong. Paint dries fast but cures slowly. Touch-dry doesn’t mean ready.
Average cabinet paint curing times:
| Paint Type | Recoat Time | Touch Dry | Full Cure | Notes |
|---|---|---|---|---|
| Waterborne Alkyd (BM Advance) | 4–6 hrs | 1–2 hrs | 14–30 days | Hardens to a furniture-grade finish |
| Acrylic Urethane (SW Emerald) | 6 hrs | 1 hr | 21 days | Excellent leveling, low VOC |
| Acrylic (PPG Break-Through!) | 2–4 hrs | 30 mins | 10–14 days | Ideal for humid climates |
Avoid reinstalling hardware too early. Allow at least 48–72 hours before handling doors and drawers, and up to 10 days for full hardness.
How Professionals Make the Process Effortless
Professional painters make painting cabinets look easy because they work systematically — not hastily.
They clean, sand, prime, and spray under controlled conditions. They also ensure every coating is chemically compatible by using products from the same manufacturer. That’s why the finish from a professional painter feels harder, smoother, and more consistent.
Professionals like Bigger Picture Painting in Victoria, BC also use curing racks, HEPA-filtered spray systems, and precision temperature monitoring — delivering better results, faster turnaround, and long-lasting durability.
Common Questions About Painting Cabinets

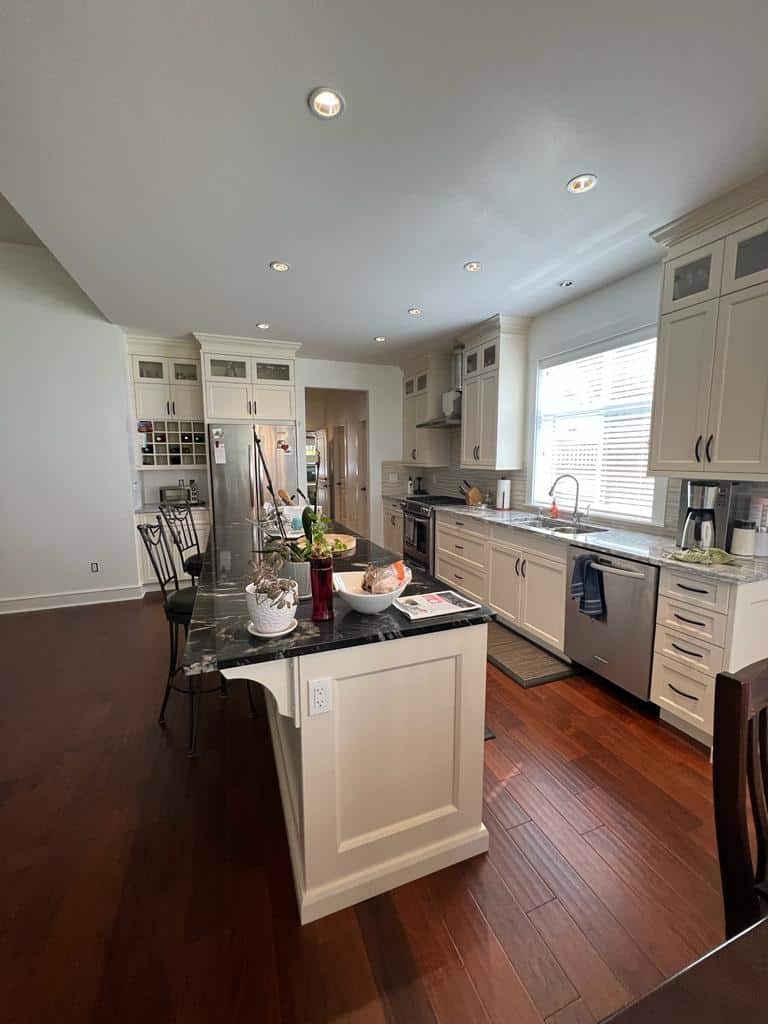
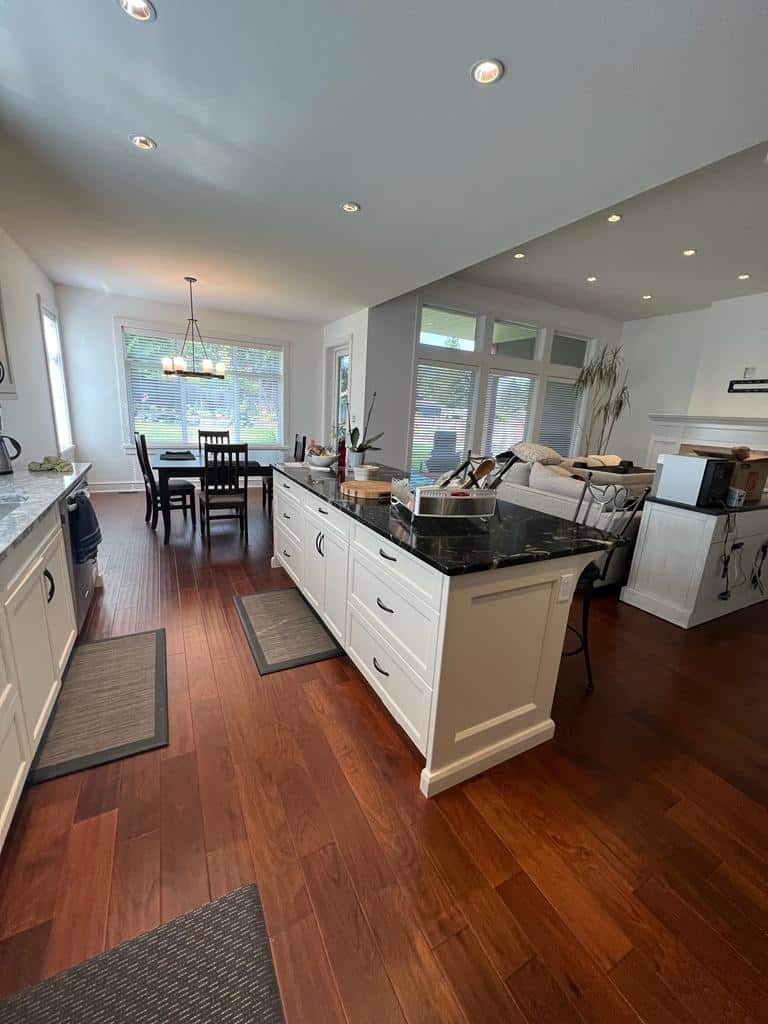
kitchen in luxury home
Q1: Can I paint cabinets without sanding?
Technically yes — if you use a strong bonding primer. But even light sanding greatly improves paint adhesion.
Q2: What’s the best paint finish for cabinets?
Semi-gloss or satin finishes strike the perfect balance between smoothness and easy cleaning.
Q3: How long should I wait between coats?
Usually 4–6 hours, but check your product’s technical data sheet for best results.
Q4: How do pros avoid brush marks?
By using microfiber rollers or HVLP sprayers, thin coats, and self-leveling paints.
Q5: Do I need a clear coat?
Not always. But for humid or high-use spaces, a clear polyurethane adds years of protection.
For more insight into how paint prep, materials, and conditions affect finish quality and cost, see our related post on exterior painting cost factors.
Make Cabinet Painting Easier the Smart Way
Painting cabinets doesn’t have to be overwhelming. With the right tools, prep, and patience, you can achieve a professional-grade finish that lasts.
Start with cleaning and sanding, choose a high-quality bonding primer, apply self-leveling enamel, and give the paint time to fully cure. Each of these steps ensures your cabinets won’t just look new — they’ll stay that way.
For homeowners who want guaranteed, flawless results without the stress, Bigger Picture Painting’s cabinet painting service delivers precision, durability, and beauty — right here in Victoria, BC.
To learn more about environmentally friendly paints, check out the EPA’s guide on ecolabels on paint and standards on greener products.