Interior painting can be a fun and rewarding project. Whether you’re looking to refresh a room or give your entire home a new look, these ten interior painting hacks will help you achieve professional painting results. With a few simple techniques and some insider tips, you’ll be well on your way to a beautifully painted home.
1. Prepare Your Space Thoroughly
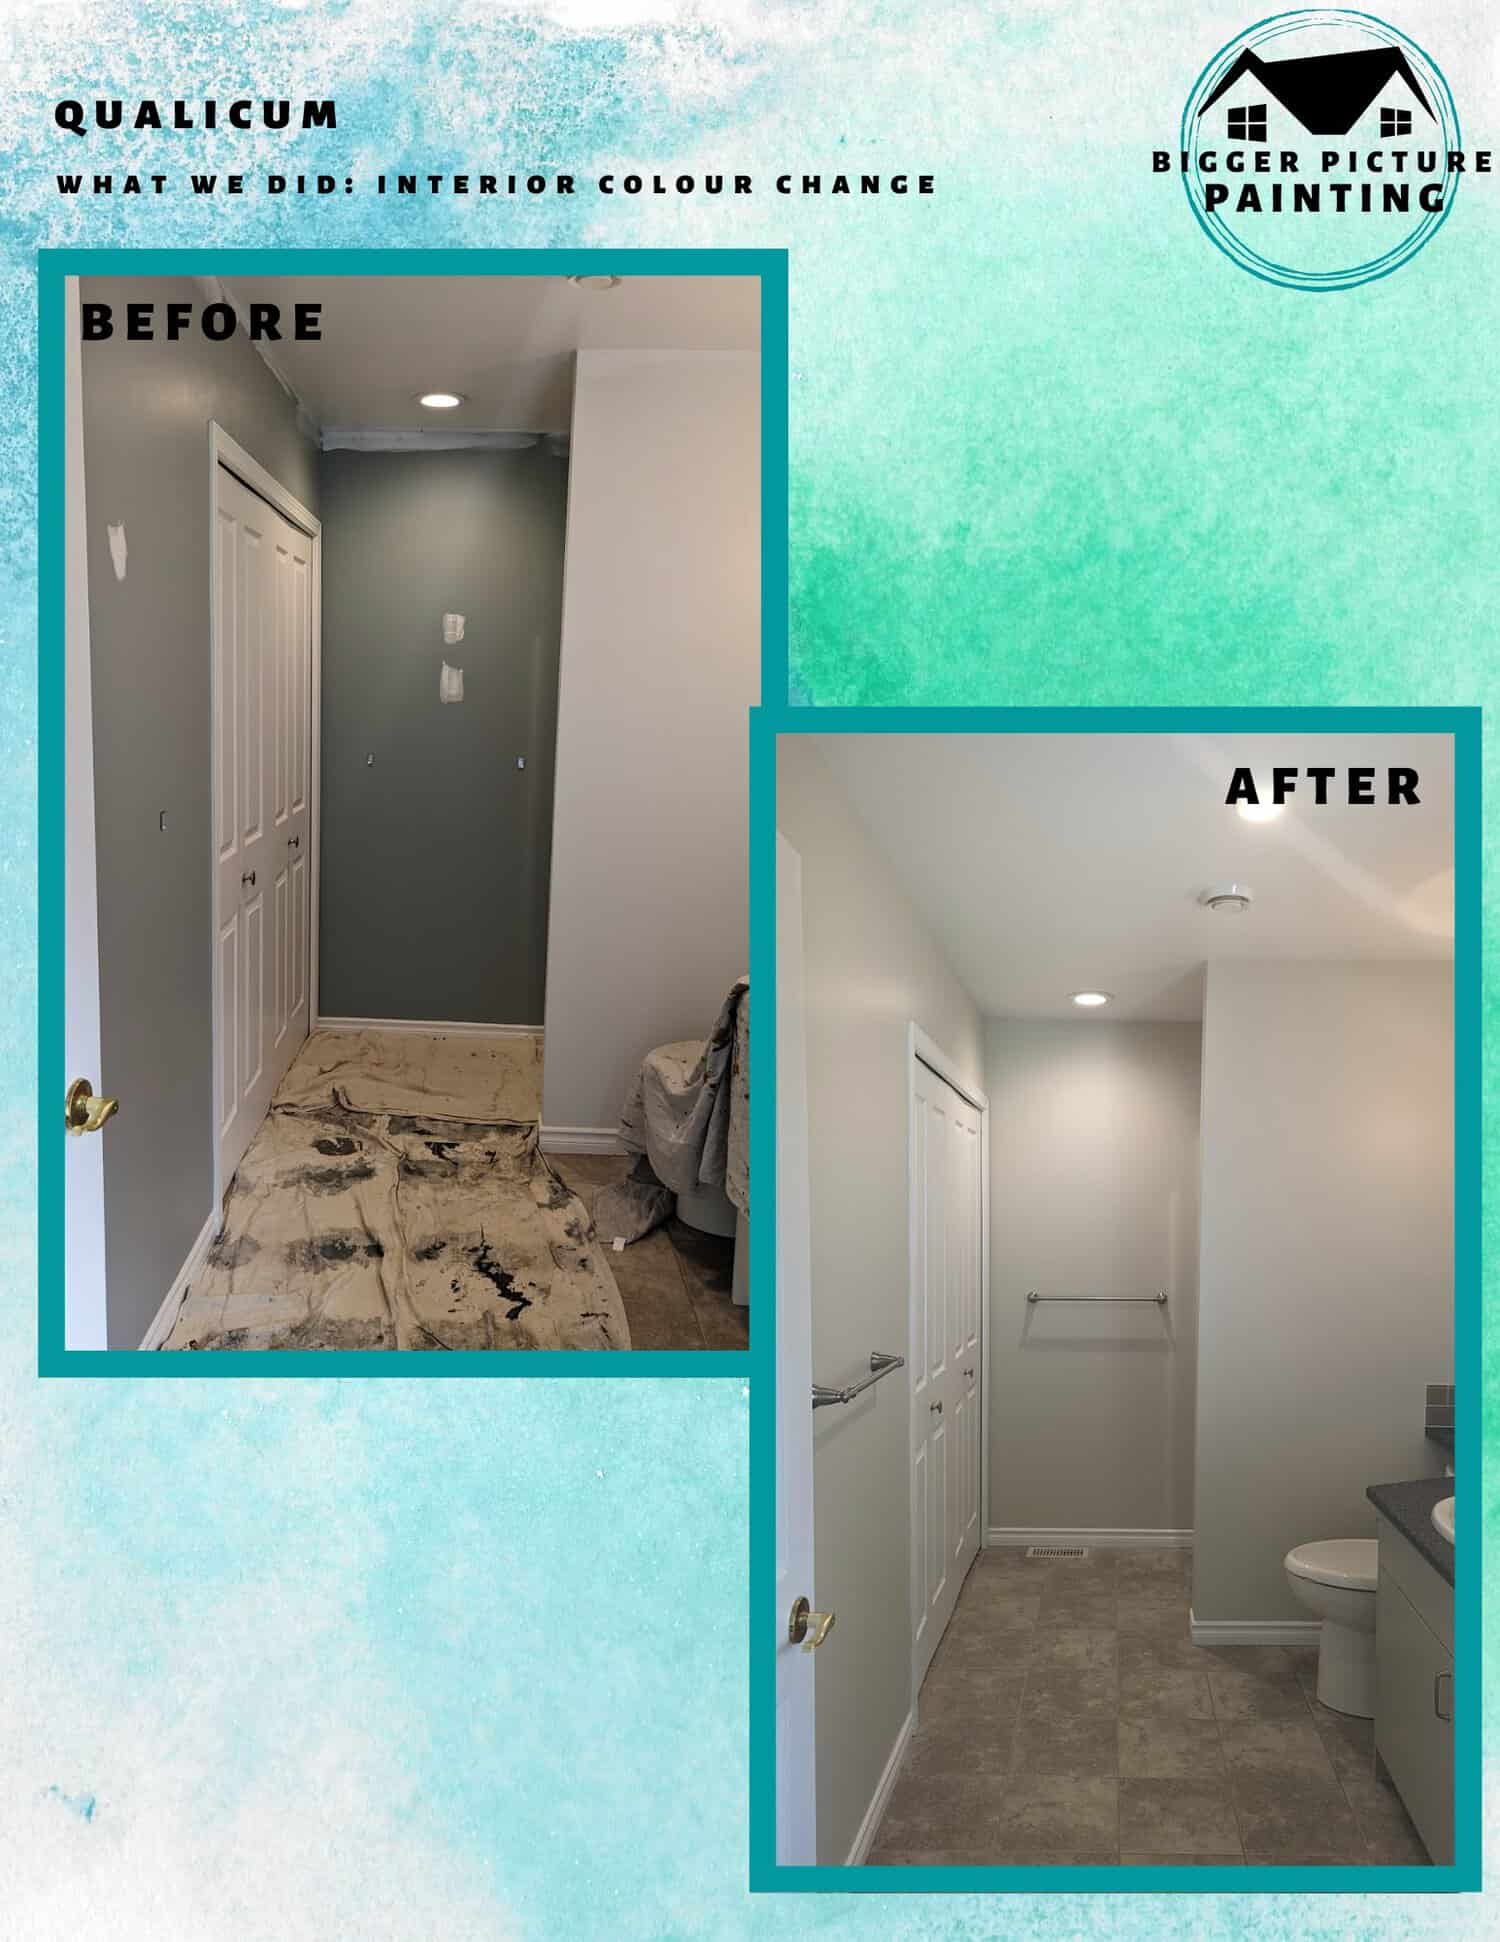
Preparation is the foundation of a successful interior painting project. Start by removing all furniture, or at least move it to the center of the room and cover it with plastic sheets. Use painter’s tape to protect trim, windows, and other areas you don’t want to paint. Cover the floors with drop cloths to catch any drips or spills.
Tip: Clean the walls with a damp cloth to remove dust and dirt, which can affect paint adhesion.
2. Use High-Quality Tools
Investing in high-quality brushes, rollers, and painter’s tape can make a significant difference in your interior painting project. Good tools provide better coverage and a smoother finish, reducing the likelihood of brush marks and uneven application.
Tip: Use a roller with a 3/8-inch nap for most walls. For smoother surfaces, a shorter nap roller will give you the best finish.
3. Don’t Skip the Primer
Primer is essential for a durable and uniform paint job. It helps the paint adhere better to the walls and can block stains and dark colors from showing through. If you’re interior painting over a dark color, use a tinted primer that matches your new paint color.
Tip: For surfaces like bathroom walls or high-traffic areas, choose a stain-blocking primer to prevent any underlying issues from bleeding through the paint.
4. Mix Your Paint Cans Together
If you’re using more than one can of paint, mix them together in a large bucket. This process, called “boxing,” ensures color consistency across all walls. Paint can vary slightly between cans, and boxing prevents noticeable differences.
Tip: Save a small amount of paint in a jar for future touch-ups. This ensures you have the exact color for any minor repairs.
5. Use a Paint Extender
A paint extender (or conditioner) can help improve the flow and leveling of the paint, reducing brush marks and creating a smoother finish. This is particularly useful for large surfaces like walls and ceilings.
Tip: Follow the manufacturer’s instructions when adding the extender to your paint. Usually, a small amount can make a significant difference.
6. Cut in First
Cutting in is the process of interior painting the edges of a room first using a brush. This step allows you to be precise around edges and corners without worrying about the roller hitting the trim. Once the edges are done, you can fill in the rest with a roller.
Tip: Use an angled brush for cutting in. It provides better control and helps you paint straight lines along the edges.
7. Roll Paint in a “W” Pattern
Instead of painting straight lines, use a “W” pattern when rolling paint onto the walls. This technique helps distribute the paint more evenly and avoids creating streaks or roller marks.
Tip: Work in small sections, about 3 feet by 3 feet, to ensure even coverage and to keep a wet edge, which prevents lap marks.
8. Keep a Wet Edge
Maintaining a wet edge means you’re always working with wet paint, which helps blend each section seamlessly with the next. This technique prevents visible lines and ensures a uniform finish.
Tip: Work quickly and blend each stroke into the previously painted area while the paint is still wet.
9. Sand Between Coats
For a truly professional painting finish, lightly sand the walls between coats of paint. This step smooths out any imperfections and gives the next coat a better surface to adhere to.
Tip: When interior painting, use fine-grit sandpaper (220 grit) and a sanding pole to reach high areas easily. After sanding, wipe the walls with a damp cloth to remove any dust.
10. Clean Up Properly
Proper cleanup ensures your tools last longer and are ready for your next interior painting project. Rinse brushes and rollers thoroughly with warm water and soap, and store them in their original packaging to keep their shape. Remove painter’s tape while the paint is still slightly wet to avoid peeling.
Tip: If you need to take a break, wrap brushes and rollers in plastic wrap or aluminum foil to keep them from drying out. They’ll be ready to use when you return.
Conclusion
Interior painting doesn’t have to be a daunting task. With these ten interior painting hacks, you can achieve a professional-quality finish that will enhance the beauty of your home. Remember, preparation and the right tools are key to success. Also, It is best to consult interior painting experts near you to get a flawless and lasting results.
Transform Your Home With Bigger Picture Painting!
Ready to transform your home with a fresh coat of paint? If DIY isn’t your thing or you want a flawless, professional finish, Bigger Picture Painting is here to help with all your interior painting needs. Our team specializes in residential interior painting and commercial painting. Contact us today at 778-200-7756 for a free consultation and let us bring your vision to life!


